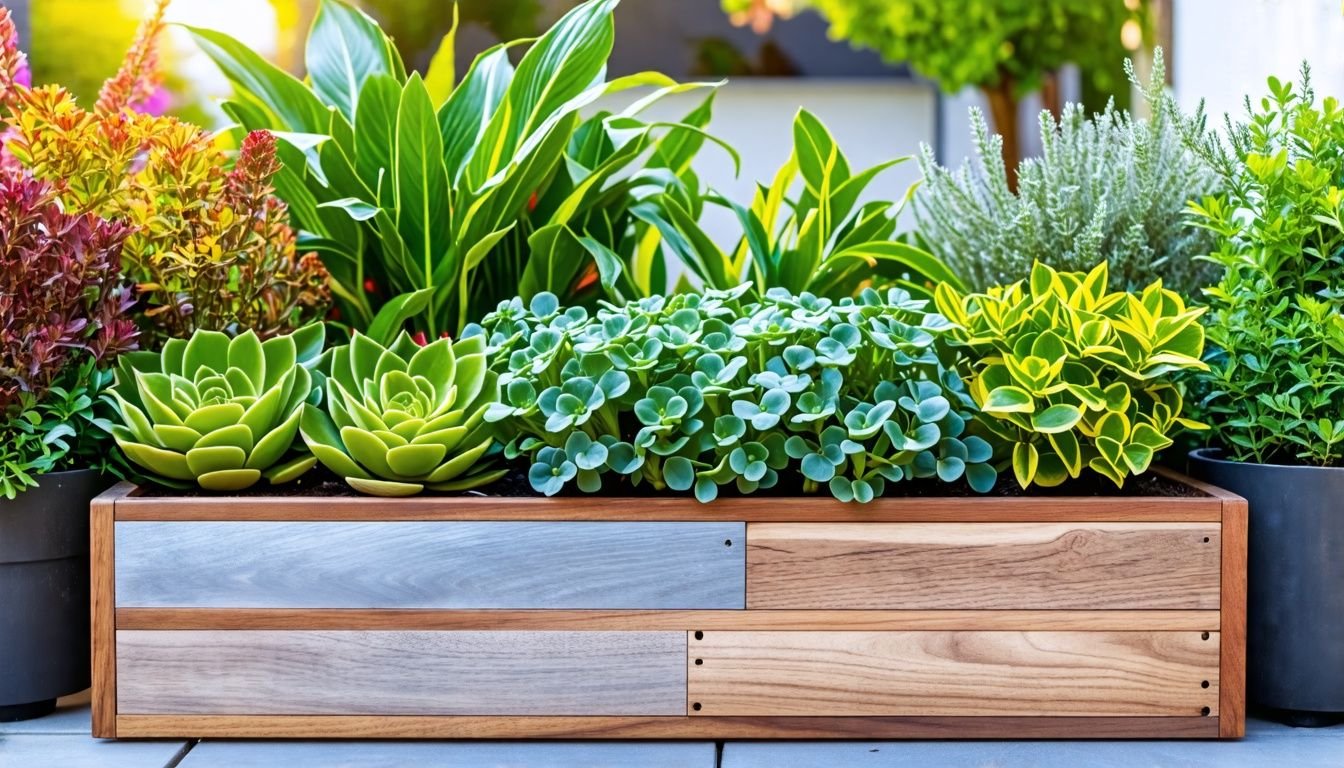
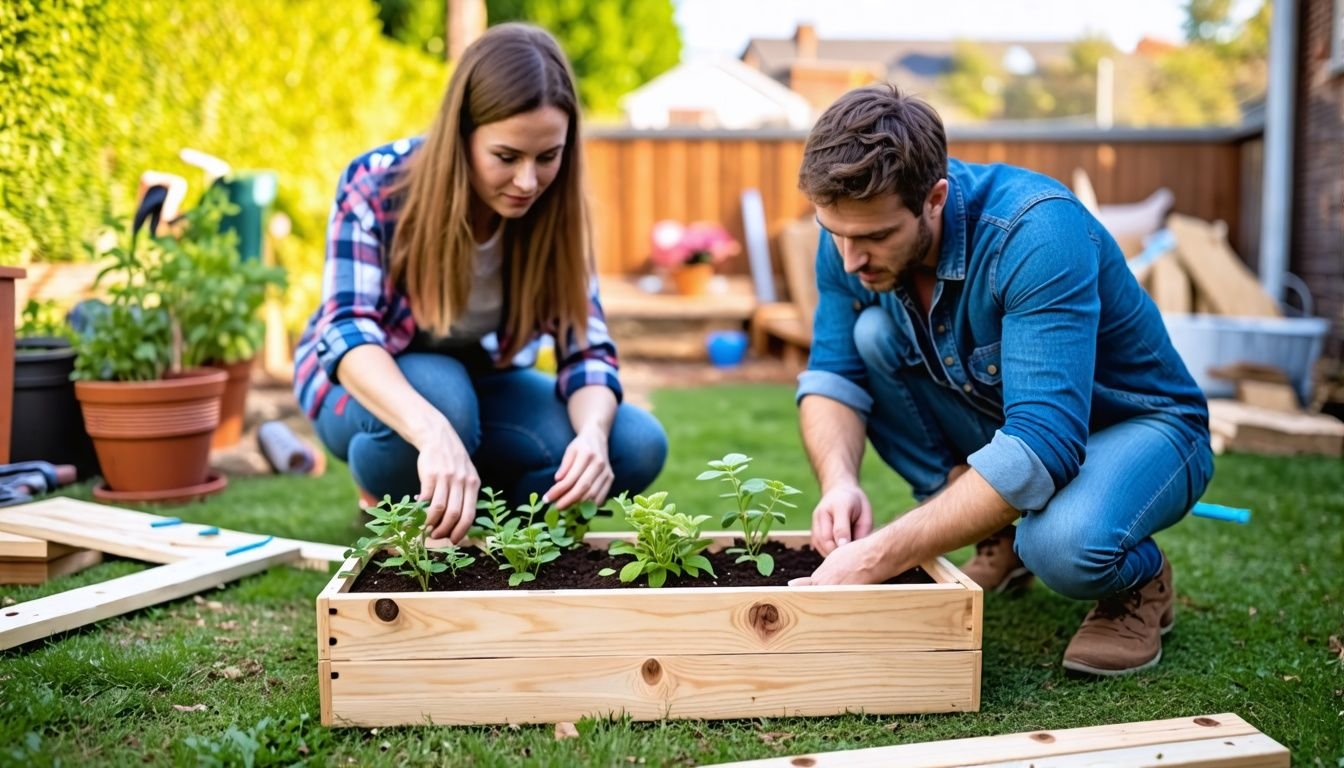
G’day, plant lovers! Sick of hunting for the perfect planter box for your garden? We get it. Finding a box that suits your space, style, and budget can be a real pain in the neck. Plus, those store-bought options often lack that personal touch we’re all after for our green spaces.
We’ve been in the same boat. Our search for the ideal planter box sent us on a wild goose chase. That’s when we stumbled upon a ripper solution: building our own! Did you know that DIY wood planter boxes can last up to 10 years if you look after them properly? We’ve done our homework and put together this guide to help you create your dream planter box.
From picking materials to adding the finishing touches, we’ve got your back. Ready to get your hands dirty?
Key Takeaways
- DIY wood planter boxes can last up to 10 years with proper care, offering a budget-friendly and personalised option for Aussie gardeners.
- Acacia wood, zinc, and poly composite materials are top choices for durability and style, with planter box prices ranging from AU $50.40 to AU $1,068.95.
- Good drainage is crucial for plant health, so include small holes at the bottom of your planter box and use landscape fabric to retain soil while allowing water flow.
- Essential tools for building include a measuring tape, saw, drill, sandpaper, and safety gear, with assembly tips like pre-drilling holes and using wood glue for added strength.
- Regular maintenance, including inspections every few months and proper watering practices, helps extend the life of your DIY wood planter box.
Choosing the Right Wood and Materials

We’ve got some top tips for picking the best wood and materials for your planter box. Acacia wood is a brilliant choice for Aussie gardeners. It’s tough, resists rot, and looks great in any outdoor space.
For a modern twist, zinc planters offer durability and style. Poly composite materials are another fab option, combining the look of wood with low-maintenance benefits.
The right materials make all the difference in creating a lasting planter box.
We’ve seen prices range from AU $50.40 to AU $1,068.95, so there’s something for every budget. eBay offers a variety of options, including plastic, fabric, pottery, ceramic, metal, and resin pots.
For wooden lovers, Koch & Co provides planters, pot covers, and crates with detailed specs. Next up, let’s talk about designing your perfect planter box.
Designing Your Planter Box
We’ll help you create the perfect planter box for your garden. Our guide covers size, shape, and key features to make your box both beautiful and practical.
Size and Shape Considerations
In Australia, we love our plants and gardening, and creating the perfect planter box starts with getting the size and shape right. Our planter boxes come in a variety of styles, from raised wooden boxes to potting benches and garden workbenches.
The size you choose depends on the plants you want to grow and the space you have. For small herbs or flowers, a compact box might do the trick. But for larger plants or vegetables, you’ll need something bigger.
Shape matters too. Rectangular boxes are popular and fit well along fences or walls. Round or square planters work great for patios or as standalone features. We’ve seen sizes ranging from small indoor pots to large outdoor planters measuring up to 1.2 metres long.
Some Aussies even opt for multi-tiered vertical planters to save space.
The material of your planter box also affects its size and shape. Wooden boxes offer flexibility in design but may need more care. Metal or plastic planters come in fixed shapes but are often lighter and easier to move.
At Koch & Co, we offer sets of two planter boxes, giving you options to mix and match sizes for a varied garden look. Whatever you choose, make sure it fits your space and meets your plants’ needs.
Drainage and Structural Integrity
Proper drainage and structural integrity are crucial for our wood planter boxes. We ensure our designs include small holes at the bottom to let excess water escape, preventing root rot.
For added strength, we use corner braces and sturdy joints to keep our boxes square and stable. This approach works well for our elevated planter shelves and raised containers.
Good drainage is the foundation of healthy plants.
Our wooden trays and crates from Koch & Co also serve as excellent planters with built-in drainage. We line these with landscape fabric to retain soil while allowing water to flow through.
By focusing on these key elements, we create long-lasting planter boxes that support thriving plants in Australian gardens.
Step-by-Step Building Instructions
We’ll guide you through the building process. Our clear steps make it easy to create your own wood planter box.
Tools Needed
Building a wood planter box requires the right tools for a smooth process. Here’s a list of essential items you’ll need to get started:
- Measuring tape: Accurate measurements are crucial for a well-fitted planter box.
- Pencil: Mark your cutting lines and assembly points clearly.
- Saw: A circular saw or hand saw for cutting wood to size.
- Drill and drill bits: Create pilot holes and secure screws in place.
- Screwdriver: Tighten screws for a sturdy structure.
- Sandpaper: Smooth rough edges and surfaces for a polished finish.
- Safety gear: Goggles, gloves, and dust mask for protection.
- Level: Ensure your planter box is perfectly straight.
- Wood glue: Reinforce joints for added strength.
- Clamps: Hold pieces together while the glue dries.
- Paint brushes or rollers: Apply protective coatings or decorative finishes.
- Hammer: Drive in nails or adjust parts as needed.
- Square: Check and maintain right angles during assembly.
- Utility knife: Trim excess materials or create clean edges.
- Gardening tools: Trowels and rakes for soil preparation and planting.
Assembly Tips
We’ve got some top-notch assembly tips for building your wood planter box. These tricks will make the process smoother and ensure a sturdy result.
- Use a level to check each corner as you build. This keeps your planter box square and stable.
- Pre-drill holes for screws to avoid splitting the wood. It’s especially important for hardwoods like our Solid Acacia Wood products.
- Apply wood glue to joints before screwing them together. This adds extra strength to your planter box.
- Sand all cut edges before assembly. Smooth edges are safer and look more polished.
- Clamp pieces together before fastening. This prevents shifting and ensures tight joints.
- Use galvanised or stainless steel screws. They resist rust and won’t stain your wood.
- Leave small gaps between bottom slats for drainage. About 3-5mm works well for most plants.
- Consider adding corner braces for extra support. They’re great for larger planter boxes.
- Test-fit all pieces before final assembly. It’s easier to make adjustments early on.
- Follow the wood grain when attaching pieces. This reduces the risk of splitting.
Now that we’ve covered assembly tips, let’s move on to finishing and maintenance to keep your planter box looking great.
Finishing and Maintenance
We’ll show you how to protect and care for your planter box. Our tips will keep your creation looking great for years.
Protective Coatings and Decoration
We love sprucing up our wood planter boxes with protective coatings and decorations. A good sealant shields the timber from moisture and UV rays, extending its life. We often use clear varnish or coloured stains to enhance the natural grain while adding weather protection.
For a fun twist, chalkboard paint turns planters into writeable surfaces – perfect for labelling plants or leaving cute messages.
Decorative touches make our planters stand out. Distressed finishes give a rustic charm, while bright colours add a pop to any garden. We’ve found carry totes useful for moving smaller planters around.
These additions not only make our boxes look great but also help them last longer in the Aussie climate.
Long-term Care
After applying protective coatings and decorations, we’ll focus on long-term care for our wood planter boxes. Proper maintenance keeps our creations looking great and functioning well for years to come.
Our planter boxes need regular checks and upkeep. We inspect them every few months for signs of wear, rot, or damage. If we spot any issues, we fix them straight away to prevent bigger problems.
Koch & Co offers top-notch materials that help our boxes last longer. We clean our planters regularly, removing dirt and debris that could trap moisture and cause decay.
Watering practices play a big role in box longevity. We avoid overwatering, which can lead to wood rot. Good drainage is key, so we make sure the drainage holes stay clear. In winter, we might need to elevate our boxes slightly to prevent water pooling underneath.
With these simple steps, our DIY wood planter boxes will thrive for many seasons, giving us joy and beautiful plants year after year.
Conclusion
We’ve explored the ins and outs of crafting your own wooden planter box. This DIY project offers a fun way to spruce up your garden or balcony. With the right tools and materials, you can create a unique piece that fits your space perfectly.
Regular upkeep will keep your planter looking great for years to come. So grab your saw and get ready to build something special for your plants!
FAQs
1. Can I use PO boxes as planter boxes?
No, PO boxes are for post. They’re not suitable for plants.
2. What wood is best for outdoor planter boxes?
Cedar or redwood work well. They resist rot and last long outside.
3. How big should I make my planter box?
Size depends on your plants. Most boxes are 30-60 cm deep.
4. Do planter boxes need drainage holes?
Yes. Drill holes in the bottom. This stops water pooling and root rot.
