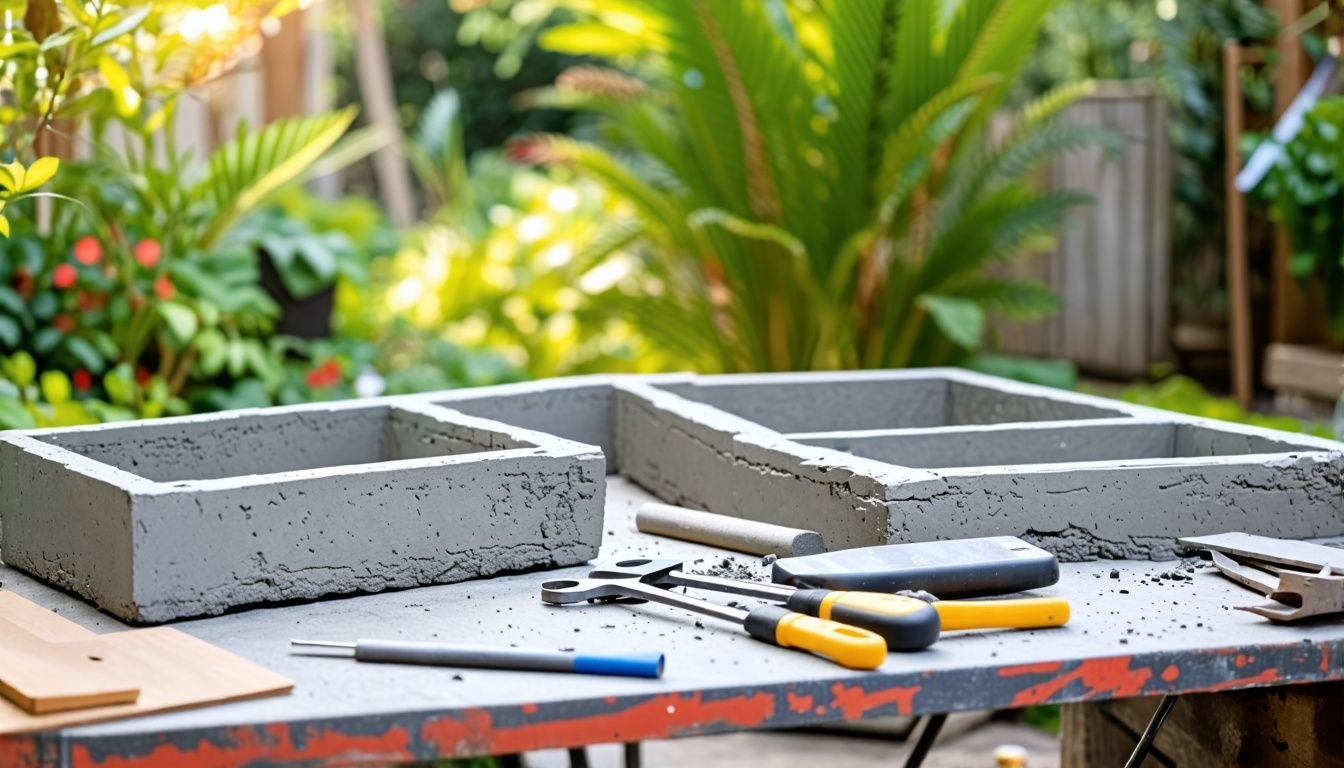
G’day, fellow green thumbs! Fancy jazzing up your outdoor space with some DIY cement planter boxes? You’re not alone if you’ve been scratching your head trying to find affordable, sturdy planters that match your style.
We’ve all been there, scouring shops for the perfect containers to house our beloved plants and spruce up our gardens.
It’s a bit of a pain when you’re faced with limited options and hefty price tags. That’s why we decided to make our own cement planter boxes. Here’s a ripper fact for you – Glass Reinforced Concrete (GRC) planters are 80% lighter than traditional concrete.
We’ve researched and discovered some easy techniques to craft custom planters that’ll suit any garden design. We’ll guide you through the entire process, from picking out materials to adding your own personal flair.
So, are you ready to get your hands dirty and save a few bucks in the process?
Key Takeaways
- Glass Reinforced Concrete (GRC) planters are 80% lighter than traditional concrete and only 10mm thick on average, making them easy to move around the garden.
- You’ll need basic tools like a mixing container, trowel, safety gear, moulds, and a drill to make your own cement planter boxes at home.
- For a medium planter box (1000mm x 280mm x 300mm), you’ll need about 112 litres of concrete mix.
- GRC planters can be painted any colour or clad with materials like stone veneer, stainless steel, timber, or tiles for a custom look.
- Proper curing takes about a week and involves covering the fresh cement with plastic and misting it regularly to prevent cracking.
Materials Needed for Cement Planter Boxes

Building cement planter boxes requires specific materials and tools. We’ll guide you through selecting the right cement, aggregates, and equipment for your project.
Types of cement and aggregates
We love working with various types of cement and aggregates to create stunning planter boxes. Portland cement, the most common type, forms a strong base for our DIY projects. It mixes well with water and hardens quickly, making it ideal for outdoor use.
We also fancy blended cement, which incorporates materials like fly ash or slag to enhance durability and reduce environmental impact.
For aggregates, we’ve found that a mix of fine and coarse materials works best. Sand serves as our go-to fine aggregate, while gravel or crushed stone make excellent coarse options.
These materials contribute to the strength and texture of our planters. We often experiment with different ratios to achieve the perfect balance between workability and structural integrity.
Glass fibre reinforced concrete (GRC) has become a favourite in our planter-making toolkit. Its 10mm average thickness during manufacturing makes it lightweight yet robust. We appreciate that GRC uses naturally-occurring raw materials and safe earth oxides, aligning with our eco-friendly gardening values.
Plus, its reduced weight means lower energy consumption during transport, a win for both us and the environment.
Tools and equipment required
Creating your own cement planter boxes requires a specific set of tools and equipment. Let’s explore the essential items you’ll need to bring your DIY project to life.
- Mixing container: A large bucket or wheelbarrow for blending cement, aggregates, and water.
- Trowel: For smoothing and shaping the concrete mixture in your moulds.
- Safety gear: Gloves, dust mask, and safety glasses to protect yourself during the mixing and pouring process.
- Measuring tools: A tape measure and spirit level to ensure accurate dimensions and even surfaces.
- Moulds: Wooden or plastic forms to shape your planter boxes, which can be customised for various designs.
- Release agent: A lubricant applied to moulds for easy removal of cured concrete.
- Reinforcement materials: Steel mesh or rebar to strengthen your planters, especially for larger boxes.
- Vibrating tool: A concrete vibrator or even a sander to remove air bubbles from the mixture.
- Finishing tools: Sandpaper or a grinder for smoothing edges and surfaces after curing.
- Drill: For creating drainage holes in the bottom of your planters.
- Sealant: A concrete sealer to protect your finished planter boxes from moisture and weathering.
- Hand trolley: For easy transportation of your completed planters to their final locations.
Step-by-Step Guide to Constructing Cement Planter Boxes
Crafting cement planter boxes is a straightforward process with the right guidance. Our step-by-step instructions cover everything from mixing and moulding to finishing and curing, ensuring you create durable and attractive planters for your outdoor space.
Mixing and moulding techniques
We start by mixing our cement, sand, and water in the right proportions. For our medium planter box (1000mm x 280mm x 300mm), we’ll need about 112 litres of concrete mix. We use a sturdy wheelbarrow and a shovel to blend the ingredients until we achieve a smooth, workable consistency.
It’s crucial to avoid over-mixing, which can weaken the final product.
For moulding, we’ve found that using a steel-reinforced form works best. We pour our mix into the mould, tapping the sides to remove air bubbles. This technique ensures a strong, durable planter that can withstand Aussie weather.
For those after a unique look, we might add some terrazzo chips to the mix before pouring.
The secret to great cement planters is in the mix and the mould.
Next, let’s explore some finishing and curing methods to perfect our cement planter boxes.
Finishing and curing methods
After shaping our cement planter boxes, we move on to finishing and curing. These steps ensure our planters look great and last long.
Finishing touches make our planters stand out. We can smooth the surface with a trowel or add texture with a brush. For a unique look, we might press patterns into the wet cement or embed decorative items like shells or tiles.
GRC planters offer flexibility here – we can paint them any colour or clad them with stone veneer, stainless steel, timber, or tiles.
Proper curing is crucial for strong planters. We cover our freshly made boxes with plastic to keep moisture in. This process takes about a week. During this time, we mist the cement regularly to prevent cracking.
GRC planters are especially durable, with weathering characteristics similar to precast materials. They resist corrosion and need little upkeep, making them perfect for our Aussie gardens.
Customising Your Cement Planter Boxes
Cement planter boxes offer endless possibilities for personalisation. We can add unique textures, colours, or patterns to make our planters stand out in our outdoor spaces.
Design variations and decorative ideas
We love to get creative with our cement planter boxes. GRC planters offer a perfect canvas for design variations and decorative ideas. These lightweight containers, about one-tenth the weight of traditional steel-reinforced concrete planters, can be painted any colour or clad with various materials.
Their resistance to chemical attacks makes them ideal for diverse Australian outdoor spaces.
Our favourite decorative techniques include adding texture to the surface, embedding mosaic tiles, or creating terrazzo-like effects with coloured aggregates. We also enjoy experimenting with different shapes and sizes, from sleek modern designs to rustic farmhouse styles.
Next, let’s wrap up with some handy maintenance tips to keep your new cement planter boxes looking their best for years to come.
Conclusion and Maintenance Tips
Building cement planter boxes is a rewarding project for any garden enthusiast. These durable containers offer endless possibilities for outdoor décor. Regular cleaning and proper drainage will keep your planters looking great for years.
We recommend sealing the concrete periodically to protect against moisture damage. With a bit of creativity and care, your handmade planters will become stunning focal points in your outdoor space.
FAQs
1. What building materials do I need for DIY cement planter boxes?
You’ll need cement mix, water, and moulds. Consider adding terrazzo or composite materials for a unique look. Precast concrete forms can simplify the process.
2. Can I use clay pots as moulds for cement planters?
Yes, clay pots work well as moulds. They provide texture and shape to your cement planters. Grease the pots first for easy removal.
3. How do I make my cement planters look like terrazzo?
Mix small coloured stones or glass pieces into your cement. This creates a terrazzo effect. Polish the surface after it dries for a smooth finish.
4. Are cement planters better than precast concrete ones?
DIY cement planters offer customisation. Precast concrete planters save time. Both are durable. Choose based on your skills and preferences.
