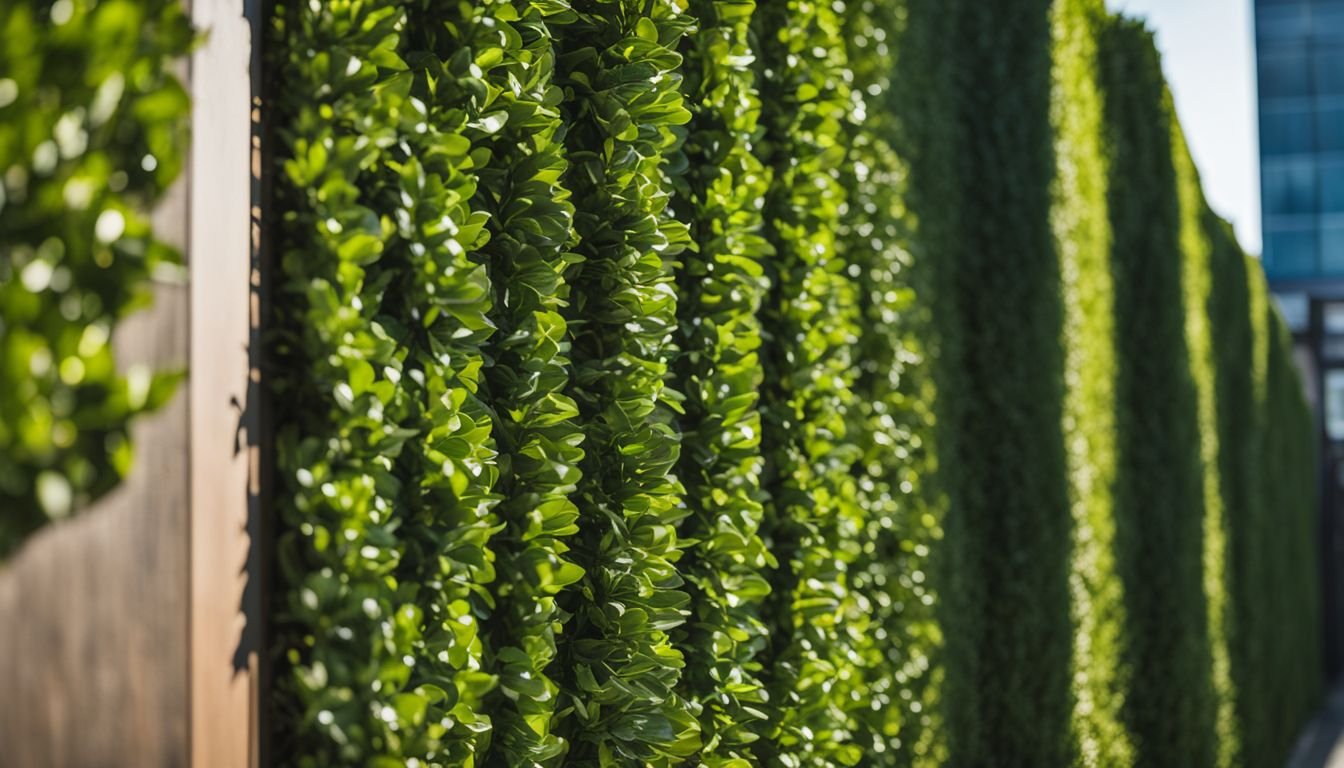
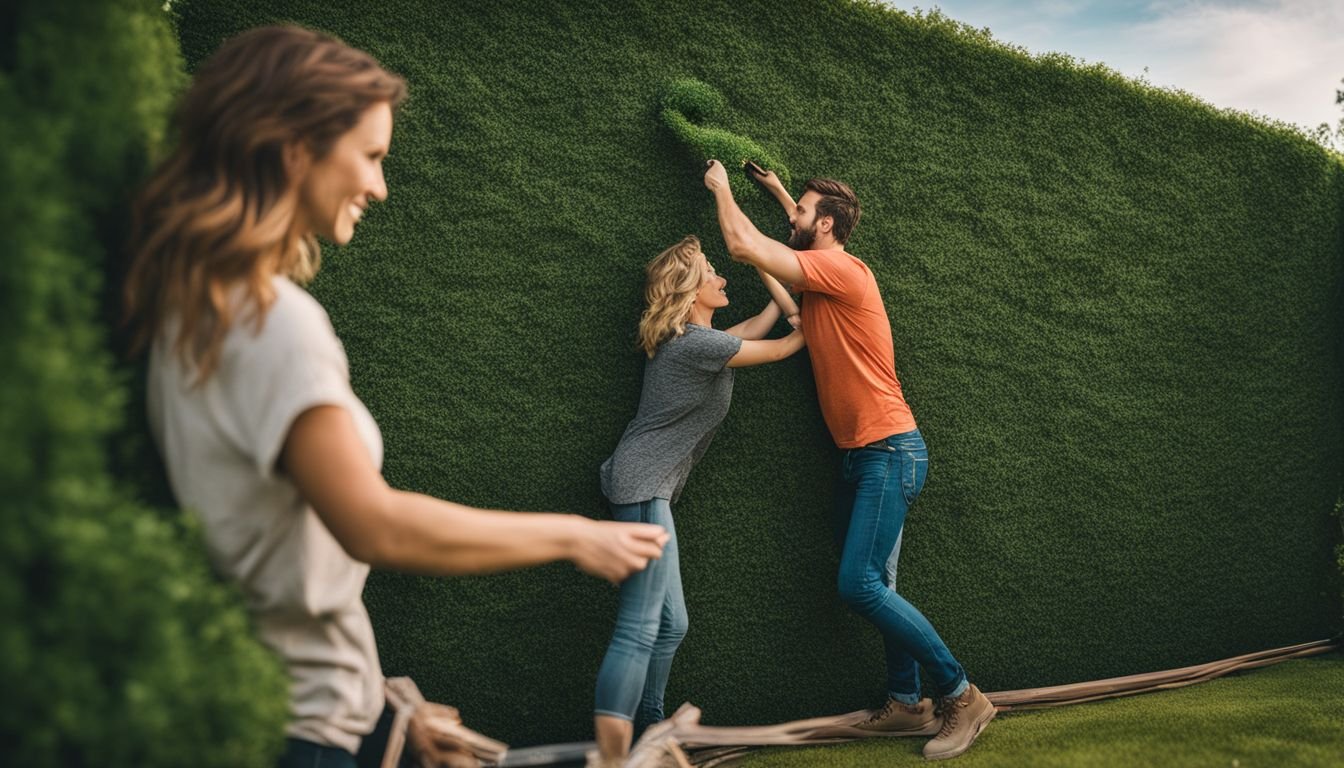
Ever caught yourself staring at your back garden thinking it could do with a splash more greenery, but the thought of wrestling with living plants puts you off? You’re not alone on that one.
Thankfully, there’s a ripper solution that adds charm without the hassle: artificial hedge walls. These beaut bits of foliage can turn any drab space into your own slice of paradise and come in all sorts like Buxus and Ivy.
With prices swinging between $79.95 to $349.95, there’s bound to be something that fits both your wallet and taste. And yep, heaps of these are UV stabilised so they’re sweet as for our sunny Aussie back gardens.
Whether you’re chasing a bit more privacy or just keen on sprucing up the place with some low-key greenery, we’ve got your back.
Our yarn will walk you through picking out the perfect artificial hedge wall for your space, what tools will make the job easier, and chuck in a step-by-step guide to installing them.
Not stopping there though – we’ll throw in some handy hints on keeping them looking ace with minimal fuss.
Keen to give your spot a makeover?
Key Takeaways
- Artificial hedge walls bring a fresh, green look to your outdoor space without all the hard work of real plants. You can pick from different types like Buxus and Ivy that suit your taste and budget, with prices ranging from $79.95 to $349.95.
- Before putting up your artificial hedge wall, measure your area and gather tools like a measuring tape, level, electric drill, screws, cable ties or plastic ties, scissors or garden shears, ladder, gloves, and safety glasses. These will make sure you’re ready to go and help avoid any hiccups during installation.
- Installing the artificial hedge is straightforward: choose the right spot; measure carefully; attach support rails; then clip or tie panels together securely. Make sure everything’s straight by using a level as you go along.
- Keep your artificial hedge looking great with simple maintenance—clean it regularly with water (add mild detergent for tough dirt) and check its attachments now and then so it stays secure.
- Don’t be afraid to explore other options for enhancing your outdoor area further after installing an artificial hedge wall. Consider adding Boxwood cascading plants in corners or Laurel screens around sitting areas for more privacy and beauty in design—all weather-resistant against the Aussie sun!
Overview of Artificial Hedge Wall Panels

Artificial hedge wall panels breathe life into any outdoor nook or cranny, giving you that lush, green look without the fuss of tending to real plants.
Our range boasts beauties like Boxwood, Laurel, Elm, Jasmin, and Buxus plants – each painstakingly crafted with incredible detail. Plus, they’re designed to stand up to the Aussie sun’s harsh rays with UV stabilisation.
“Whipping up a stunning green wall has never been simpler or more within your reach.”
We’re here for every garden lover out there who’s keen on snagging durable privacy screens or vertical gardens that sprinkle a bit of nature’s calm over their space. With prices stretching from $79.95 to $349.95 and an array of sizes on offer finding just the right piece for your patch is a walk in the park.
Whether you’re after single panels for those tighter spots or fancy some extendable trellis screens and portable stands for more flexibility in your garden layout—our artificial greens let you soak up natural light filtering through realistic leaves minus the hassle of keeping track of watering times or getting stuck into pruning jobs.
So go on then, give your garden that spruce-up it deserves with our lifelike plant panels—it’s about making spaces merrier without breaking a sweat!
Selecting the Right Artificial Hedge Wall for Your Outdoor Space

Moving from understanding the basics of artificial hedge wall panels, we now focus on how to choose the perfect one for your garden or patio. The vast array of options available may feel overwhelming at first glance.
We’ve got a simple way to make this choice easier. First, consider the space where you plan to install your faux plant barrier. Measure the length and height accurately so you know exactly what size you need.
This prevents buying too many panels and helps keep costs down.
Next, think about the type of foliage that suits your taste and outdoor decor best. With varieties like Buxus, Boxwood, Jasmine, Ivy, Laurel, Photinia, Ferns and Mosses in their faux greenery range; there’s something for every style preference out there! Do you want dense coverage for privacy or lighter foliage for a decorative touch? Your answer will guide which panel type fits best.
Finally, don’t forget to check if the panels are UV stable before adding them to cart. This feature ensures they’ll remain vibrant under the Australian sun without fading quickly over time.
Consider these steps carefully as you select an artificial hedge wall that transforms your outdoor area into a beautiful vertical gardening club without constant upkeep!
Tools and Materials Needed for Installation
After you’ve picked the perfect artificial hedge wall for your garden, you’ll need to gather the right tools and materials for the installation. This ensures everything goes smoothly and your green walls look amazing. Here’s what you should have on hand:
- Measuring tape: Before starting, use this tool to measure your space accurately. This helps in knowing how many panels of artificial greenery you need.
- Level: A level makes sure your artificial hedge wall panels hang straight, giving a professional finish.
- Electric drill and bits: You’ll use an electric drill to fix mounts or supports onto fences, walls, or frames where the artificial hedges will attach.
- Screws and wall plugs: These are essential for securing panels in place. Choose the right size for the surface you’re working with.
- Cable ties or plastic ties: Use these for attaching panels together or securing them to structures without drilling.
- Scissors or garden shears: Trim excess parts of the hedge panels to fit your space perfectly.
- Ladder: Have a ladder handy if you’re working above ground level, ensuring you can safely reach higher places.
- Gloves: Protect your hands while handling tools and doing all the work by wearing sturdy gloves.
- Safety glasses: Protect your eyes from dust and debris when cutting or drilling during installation.
Having all these items ready before starting will help make installing your new artificial hedge wall a breeze, transforming your outdoor space into a lush green oasis with no fuss at all!
Step-by-step Guide to Installing an Artificial Hedge Wall
Putting up an artificial hedge wall in your outdoor space can transform it completely. Let’s walk through how we can do this together, making our gardens look fantastic.
- First, choose the right spot for your artificial hedge wall. It needs to be a flat area where the panels will hang straight.
- Measure the area carefully to know how many panels you’ll need. Remember, some Artificial Hedge Wall Panels are UV stabilised, perfect for Australian weather.
- Gather all the tools and materials before starting. You’ll need a hammer, drill, screws, and possibly a saw if adjustments are needed.
- If your panels have come with any securing accessories, like ties or clips, get them out now. These will help keep your hedge stable against wind.
- Start by marking where you’ll attach the support rails to the wall or fence. This step is crucial for getting everything level.
- Drill holes and screw in the support rails securely to ensure they can hold the weight of the hedge panels.
- Take one panel at a time and attach it to the support rail. Use clips or ties if provided, ensuring each panel sits tight against its neighbour.
- Continue attaching panels side by side until you’ve covered the desired area.
- Step back and check if all panels are level and firmly attached. Make any necessary adjustments.
With these steps completed, you’ll have added a beautiful green touch to your outdoor space without constant upkeep worries.
Next up: Tips for Maintenance and Care of Artificial Hedge Walls
Tips for Maintenance and Care of Artificial Hedge Walls
After successfully setting up your artificial hedge wall, keeping it in prime condition should be your next focus. We all love a vibrant green space that requires minimal effort, and with these maintenance tips, you can ensure your artificial hedge remains stunning year-round.
Regular cleaning stands out as the most important step. Dust and debris can accumulate on the leaves over time, making them appear dull. A simple spray down with a hose every few weeks will do wonders.
For more stubborn grime, a mixture of water and a mild detergent applied gently with a soft cloth will bring back the shine without damaging the foliage.
In addition to regular cleaning, it’s crucial to check for secure attachments from time to time. Windy days or natural wear might loosen fixings or panels. A quick secure checkout of each panel ensures everything stays in place and looks neat.
Lastly, despite some artificial hedges being UV stabilised for outdoor use, prolonged exposure to direct sunlight may eventually lead to fading. Consider rotating sections if possible or providing shade during peak sunlight hours to maintain the vivid colour of your panels longer.
Implementing these care routines will extend the life and beauty of your artificial hedge walls immensely. So grab that hose, keep an eye on those connections and enjoy an evergreen space without the constant upkeep real plants demand.
Conclusion
Transforming your outdoor area with an artificial hedge wall truly makes a big difference. You’ve seen how selecting the right style and size, from Boxwood to Jasmine, can match your space perfectly.
With simple tools like scissors and cable ties at hand, the installation process is straightforward. Follow our guide step by step, and soon enough, you’ll enjoy a gorgeous maintenance-free garden façade.
This addition not only enriches your personal space but also boosts kerb appeal for anyone who loves a touch of greenery without the hassle.
Explore More Outdoor Space Ideas
After setting up your artificial hedge wall, why stop there? Take your outdoor space to the next level by integrating Boxwood cascading plants into cosy corners or adding a touch of elegance with Laurel leafy screens around sitting areas.
Our hedges, crafted with top-quality materials, promise lasting beauty without any upkeep. They’re perfect for both sunlit patios and shady nooks, ensuring vibrant greenery year-round.
Consider partitioning different sections of your garden with Elm dividers or creating an enchanting entryway using Jasmin trellises. These installations not only enhance privacy but also introduce an element of surprise in your garden layout.
With their UV resistance, our products stand strong against the Australian sun, keeping their lush appearance without fading. Dive into these options and transform every inch of your outdoor area into a personal paradise where you can relax and entertain.
FAQs
1. How do I start installing an artificial hedge wall in my outdoor space?
First, choose the area where you want your hedge wall. Then, make sure you have all the necessary tools and materials added to your cart before starting the installation process.
2. What tools will I need for installing an artificial hedge wall?
You’ll need basic garden tools like scissors or a utility knife for cutting the hedges to size, zip ties or a staple gun for securing them in place, and possibly a drill if you’re attaching them to a hard surface.
3. Can I install an artificial hedge wall by myself?
Yes, you can! Installing an artificial hedge wall is a straightforward DIY project that most people can handle on their own with some patience and preparation.
4. How do I maintain my new artificial hedge wall once it’s installed?
Luckily, artificial hedge walls require minimal maintenance. Just give them a gentle hose down occasionally to remove dust and keep them looking fresh.
