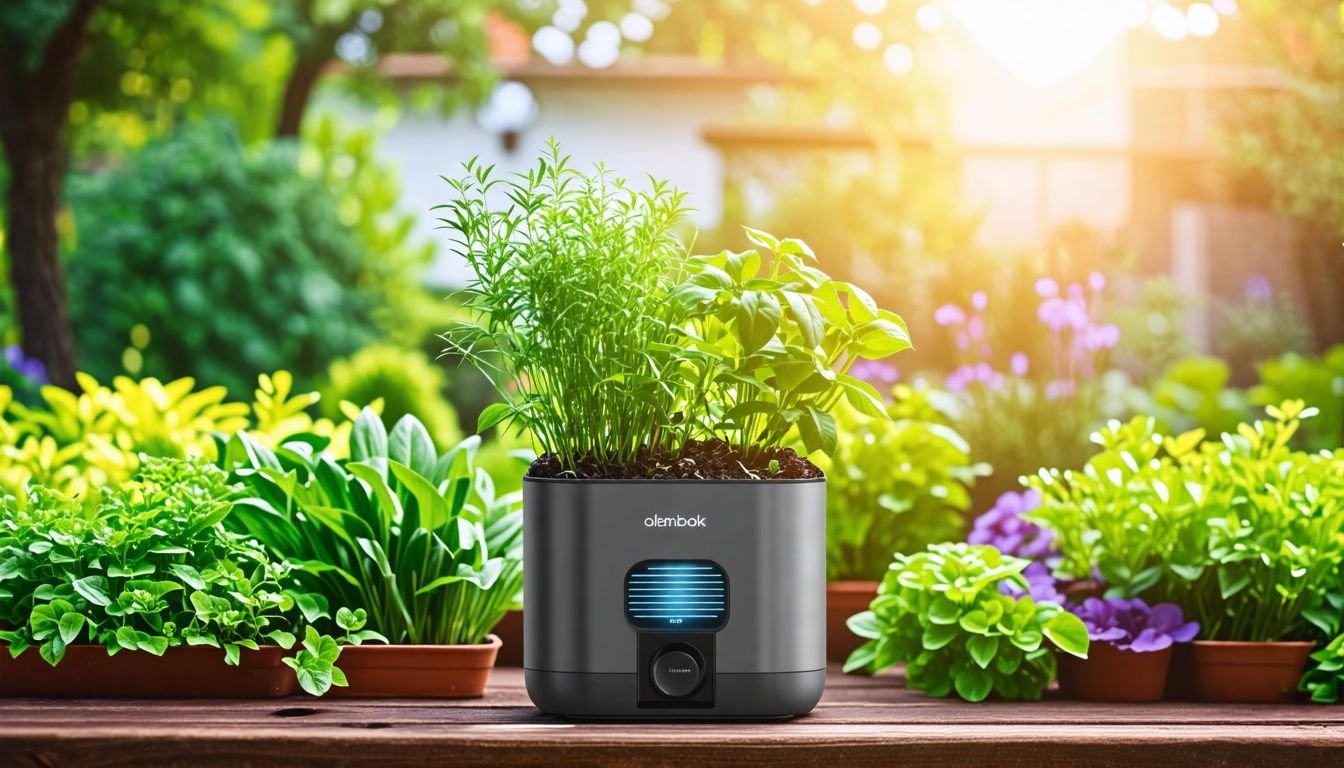
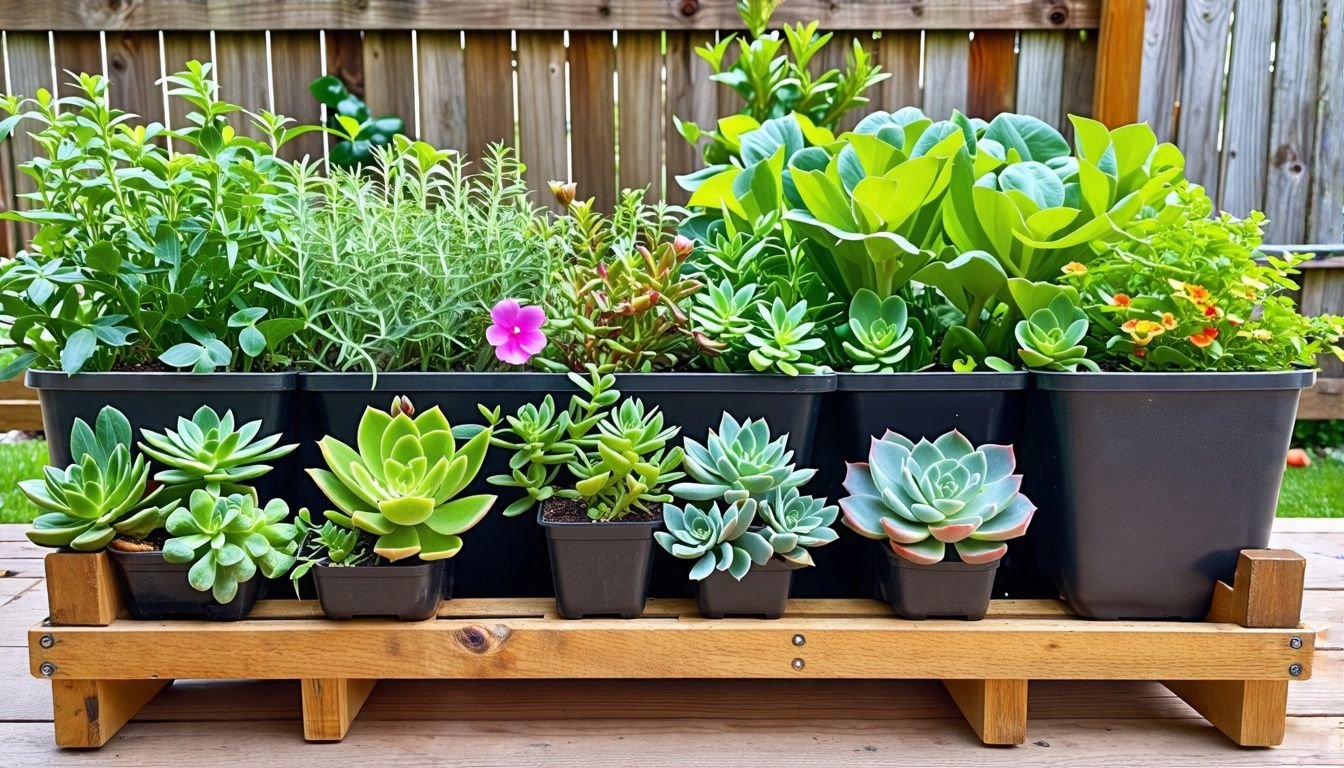
G’day, fellow plant lovers! We know how challenging it can be to keep your greenery happy and healthy. Too often, we forget to water our leafy mates or we’re not quite sure how much H2O they’re after.
This leads to some pretty sad-looking plants that just don’t thrive. It’s a common headache for many of us, and it can be a real pain in the neck.
We’ve had our fair share of struggles with parched plants. There’s nothing worse than watching your beloved ferns and fiddle-leaf figs wither away. That’s why we decided to explore self-watering pot plants.
These clever little beauties keep your plants chuffed with minimal fuss. They can reduce water usage by up to 80% compared to your run-of-the-mill pots.
We’ve put together a ripper guide to show you how to whip up your own self-watering planters. We’ll take you through the whole shebang, from picking the right container to setting up the water system.
You’ll learn how to create a pot that does the hard yakka for you. So, are you keen to make plant care a piece of cake?
Key Takeaways
- Self-watering pots can cut water use by up to 80% compared to regular pots.
- Key parts of self-watering pots are the reservoir and wicking system.
- Use a two-pot setup: a big outer pot for water storage and a smaller inner pot for soil and plants.
- Check water levels every few days and adjust based on seasons and plant needs.
- Proper water management in self-watering pots leads to healthier, more resilient plants with less daily care.
Essential Components of Self-Watering Pot Systems

Self-watering pots have two key parts that make them work. These parts keep plants healthy and reduce the need for daily watering.
Reservoir design
We design our self-watering pot reservoirs to keep plants happy and healthy. These clever systems hold water below the soil, giving roots steady access to moisture. Our reservoirs come in different sizes, but the Mr Kitly x Decor Pot holds about 2 litres.
This amount works well for most indoor plants.
The key to a good reservoir is its shape and material. We use BPA-free, UV-stable plastic for our pots. This plastic stands up to sunlight and doesn’t leach harmful chemicals. The reservoir sits at the bottom of the pot, separate from the soil.
A small gap allows air to circulate, which helps prevent root rot.
A well-designed reservoir mimics nature’s way of delivering water to plant roots.
Our reservoirs include a water level indicator. This handy feature shows when it’s time to top up the water. It takes the guesswork out of plant care. The Lechuza system in our pots copies how plants get water in nature.
This method keeps soil moist without waterlogging.
Wicking mechanism
The wicking mechanism forms the heart of self-watering pot plants. It moves water from the reservoir to the soil, keeping plants hydrated. We use materials like cotton or nylon rope for this purpose.
These materials draw water up through tiny spaces between their fibres.
Our wicking system needs careful setup to work well. We make sure the wick touches both the water and the soil. This contact lets plants pull up just the right amount of moisture. Too little contact means dry soil.
Too much might lead to soggy roots.
Different plants need different amounts of water. We can adjust our wicking system to suit each type. Thicker wicks or more wicks work for thirsty plants. Fewer or thinner wicks suit plants that like drier soil.
Next, let’s look at how to put all these parts together in your own self-watering pot.
Step-by-Step Guide to Assembling Your Self-Watering Pot
We’ll show you how to make your own self-watering pot step by step. Our guide covers everything from picking the right container to setting up the water system.
Choosing the right container
Picking the perfect container is key for self-watering pot plants. We suggest using a large, sturdy pot that can hold both your plant and a water reservoir. The ideal choice is a container with a width of at least 170mm and a height of 145mm.
This size allows for a planting depth of about 100mm, giving roots ample space to grow.
For the best results, we recommend a two-pot system. Start with a bigger outer pot, then place a smaller one inside it. The outer pot acts as the water storage, while the inner pot holds the soil and plant.
This setup creates a simple yet effective self-watering system. Our Mr Kitly x Decor Pot fits these specs perfectly, making it a top pick for Aussie plant lovers.
The right pot is like a cozy home for your plants. It gives them room to grow and easy access to water.
Setting up the water reservoir
We’ll start by setting up the water reservoir for our self-watering pot. First, we need to fill the larger container with water. This container acts as the main reservoir, holding enough water to keep our plants hydrated for days.
We make sure to use a container that’s big enough to hold a good amount of water, but not so large that it becomes too heavy to move.
Next, we place the smaller pot inside the larger pot. This smaller pot will hold our plant and soil. It’s important to choose a pot with drainage holes at the bottom. These holes allow water to move up from the reservoir into the soil through a process called capillary action.
We can find suitable pots at our local online store or garden centre.
To finish the setup, we add a wick between the two pots. This wick can be made from materials like rope or felt. It helps draw water from the reservoir up into the soil, keeping our plants watered even when we’re not around.
With this system in place, we can enjoy healthy plants with less daily watering.
Installing the wicking system
Now that we’ve set up the water reservoir, let’s move on to installing the wicking system. This crucial step ensures our plants receive a steady supply of water.
We’ll start by drilling holes in the bottom of the smaller pot. These holes allow the wick to pass through and connect the growing medium to the water reservoir. Next, we cut a length of wick material, such as cotton rope or felt.
We thread one end of the wick through the hole we’ve made. It’s vital to make sure the wick touches the growing medium. This contact allows water to move up from the reservoir to the plant’s roots.
The wick acts like a straw, drawing water upwards through capillary action. We place the smaller pot with the wick inside the larger container holding the water reservoir. The other end of the wick should reach into the water.
This setup creates a self-watering system that keeps our plants hydrated with minimal effort on our part.
Maintenance Tips for Self-Watering Pot Plants
Keeping your self-watering pots in top shape is easy. We’ll show you how to check and adjust your system for happy, healthy plants.
Regular checks and adjustments
We need to keep a close eye on our self-watering pot plants. Every few days, we check the water level in the reservoir. This helps us make sure our plants always have enough water.
If the level is low, we top it up. We also look at the soil moisture. If it’s too wet, we might need to adjust how much water the plant gets.
Our plants’ needs change with the seasons. In summer, they might need more water. In winter, they often need less. We adjust the water level to match these needs. This way, we save water and keep our plants healthy.
It’s a simple task that makes a big difference in how well our plants grow.
Optimising water levels for plant health
We aim to keep our plants healthy by managing water levels in self-watering pots. Our goal is to strike a balance between too much and too little water. Overwatering can lead to root rot, while underwatering causes stress and wilting.
We check the water reservoir often and refill it when the indicator shows it’s low. This method ensures our plants get a steady supply of moisture.
Our plants thrive when we maintain proper water levels. We start by watering from above to settle the potting mix. This helps roots establish contact with the wicking system. After that, we let the self-watering pot do its job.
The result? Healthier plants that need less frequent watering. We enjoy lush, vibrant greenery without daily watering chores.
Proper water management leads to stronger, more resilient plants. We pay attention to each plant’s needs and adjust water levels accordingly. Some plants prefer drier conditions, while others like it moist.
By tailoring our approach, we create ideal growing conditions for each type of plant. Next, let’s explore how to wrap up your self-watering pot plant care routine.
Conclusion
Self-watering pots make plant care a breeze. We’ve shown you how to craft your own with simple steps. These pots help plants thrive with less fuss. They’re perfect for busy gardeners or those new to plant care.
Give it a go and watch your green friends flourish!
FAQs
1. What materials do I need to create a self-watering pot plant?
You’ll need a container with drainage holes, a water reservoir, wicking material like rope or felt, potting mix, and your chosen plant. A drill might be handy for making extra holes if needed.
2. How often should I refill the water reservoir in my DIY self-watering pot?
Check the water level weekly. Top it up when it’s about a quarter full. This frequency may change based on your plant’s needs and local climate conditions.
3. Can all plants thrive in self-watering pots?
Most plants adapt well to self-watering systems. However, succulents and cacti prefer drier conditions and may not suit this setup. Research your specific plant’s watering needs before using a self-watering pot.
4. How do I prevent mould growth in my homemade self-watering pot?
Ensure proper air circulation by not overfilling the reservoir. Add a few drops of hydrogen peroxide to the water to discourage mould. Clean the pot regularly and avoid letting stagnant water sit for long periods.
