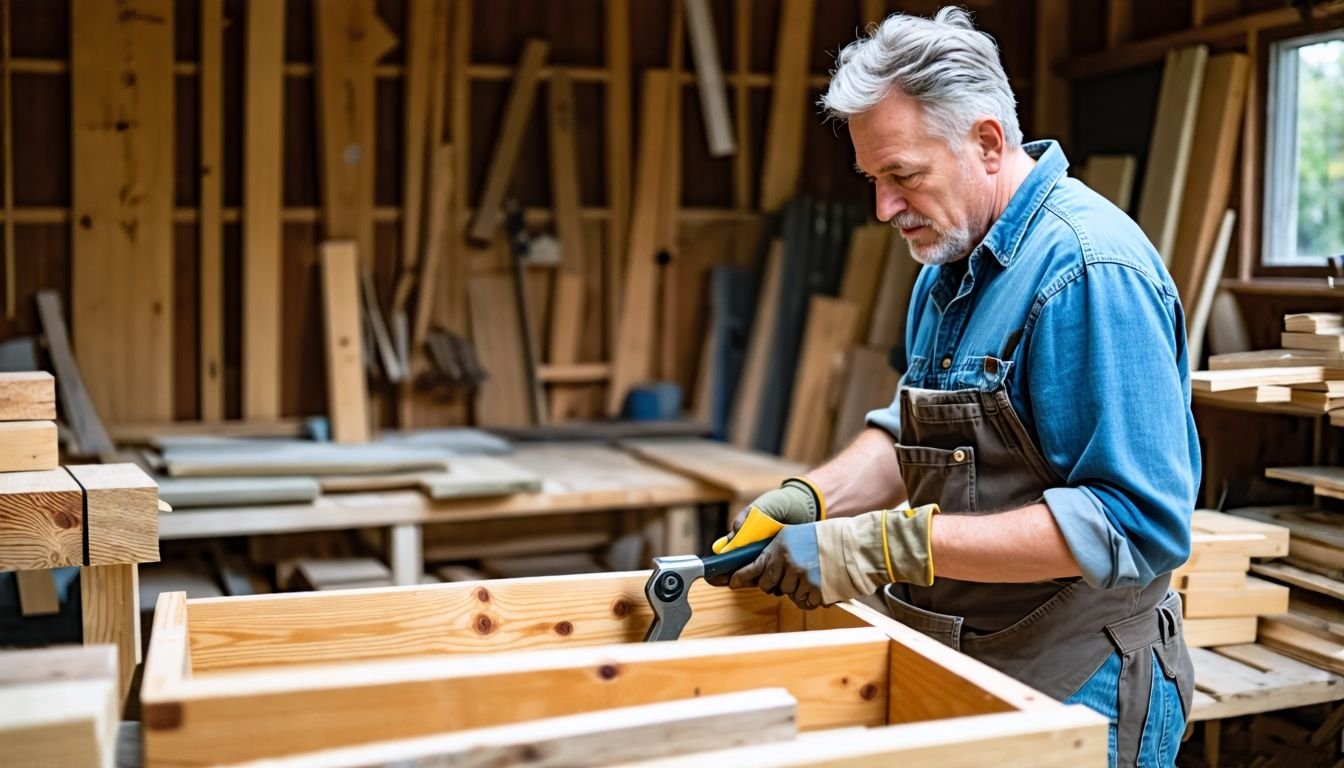
G’day, fellow garden enthusiasts! Sick of dull outdoor spaces and keen to add a bit of pizzazz? Timber planter boxes are a ripper solution. They breathe life into your backyard and give you a spot to grow your favourite plants.
But crikey, buying them can be a bit dear, and finding the right size or style can be a real headache.
We’ve been in the same boat, mate. That’s why we rolled up our sleeves and dug into how to build timber planter boxes at home. Here’s a top tip: using Macrocarpa Cypress, wood sourced from solar-powered mills, can make your project more eco-friendly.
Bonza, right? Our research led us to some dead simple steps that anyone can follow. We’ll walk you through picking the right timber, using the proper tools, and putting it all together.
So, ready to create your own little garden oasis? Let’s get cracking!
Key Takeaways
- Macrocarpa Cypress from solar-powered mills is a top eco-friendly timber choice for planter boxes.
- Essential tools include a saw, drill, screws, measuring tape, sandpaper, wood sealer, and safety gear.
- Precise measuring and cutting are crucial; double-check measurements before making any cuts.
- Assemble the box by attaching sides to the base, reinforcing corners, and installing drainage holes.
- Seal timber boxes yearly with water-based exterior sealer to protect from Aussie sun and extend their life.
Selecting the Right Materials

Choosing the right materials is key to building sturdy planter boxes. We’ll guide you through picking the best timber and tools for your project.
Types of timber suitable for planter boxes
We’ve got the scoop on the best timber for your planter boxes. Our top picks will help you create sturdy, long-lasting garden containers.
- Macrocarpa Cypress: This ethically sourced timber is perfect for outdoor use. It’s naturally resistant to rot and pests, making it ideal for planter boxes.
- Australian Hardwoods: These local options are tough and durable. They include Jarrah, Spotted Gum, and Blackbutt, all great choices for garden projects.
- Reclaimed Timber: We love using recycled wood for sustainability. Old fence posts or pallets can be transformed into unique planter boxes with character.
- Cedar: This lightweight wood is naturally resistant to decay. It’s easy to work with and gives a lovely reddish hue to your garden.
- Treated Pine: A budget-friendly option that’s readily available. Make sure it’s treated for outdoor use to prevent rot and insect damage.
- Redwood: Known for its natural beauty and resistance to decay. It’s a bit pricier but will last for years in your garden.
- Merbau: This tropical hardwood is dense and durable. It’s resistant to rot and termites, making it great for planter boxes.
- Ironbark: An Australian native that’s incredibly strong and long-lasting. It’s perfect for large planter boxes that need to hold heavy loads.
Necessary tools and supplies
Let’s get ready to build our timber planter boxes. We’ll need a few key tools and supplies to make this project a success.
- Timber: Choose weather-resistant wood like cedar or treated pine.
- Saw: A circular saw or handsaw for cutting timber to size.
- Drill: For making pilot holes and driving screws.
- Screws: Stainless steel screws to resist rust.
- Measuring tape: To ensure accurate cuts and assembly.
- Sandpaper: For smoothing rough edges.
- Wood sealer: To protect the timber from moisture.
- Hammer: For general assembly tasks.
- Level: To ensure your planter box sits flat.
- Safety gear: Gloves, safety glasses, and dust mask.
- Nonwoven geofabric: For drainage lining, as included in store-bought models.
- Paint or stain: Optional, for customising the look of your planter box.
Step-by-Step Construction Process
We’ll guide you through the construction process step by step. Our clear instructions will help you build your timber planter box with ease.
Measuring and cutting the timber
We’re ready to tackle the most crucial step in building our timber planter boxes. Precise measurements and clean cuts ensure our boxes look great and last long.
- Gather tools: Tape measure, pencil, square, and saw
- Measure twice, cut once: Double-check all measurements
- Mark cut lines clearly on timber with pencil
- Use a square to ensure straight, 90-degree angles
- Set up saw horses for stable cutting surface
- Cut timber slowly and steadily for clean edges
- Sand cut edges to remove splinters
- Check all pieces fit together before assembly
Our mate Nidge spent six weekends perfecting his planter box technique. We can learn from his experience and create stunning flower pots for our gardens.
Assembling the box structure
Now that we’ve cut our timber, it’s time to put our planter box together. Let’s move on to assembling the structure, which is where our handmade Australian planter box really takes shape.
- Lay out the base: Place the bottom piece flat on your work surface.
- Attach the sides: Secure the four side pieces to the base using screws or nails.
- Reinforce corners: Add corner brackets for extra strength.
- Install drainage system: Drill holes in the base or add a pre-lined drainage system.
- Fit the top trim: Attach decorative edging around the top of the box.
- Sand rough edges: Smooth any sharp corners or splinters.
- Check for stability: Ensure the box stands level and doesn’t wobble.
- Add lining: Install a waterproof liner if desired.
- Prepare for finishing: Clean the surface and remove any dust.
- Apply sealant: Protect the wood with a suitable outdoor sealant.
Finishing and Maintenance Tips
We’ll show you how to keep your timber planter boxes looking great for years. Our tips cover sealing, protecting, and caring for your new garden feature.
Sealing and protecting the wood
We need to seal and protect our timber planter boxes to keep them looking great and lasting longer. A good sealant shields the wood from water damage, rot, and harmful UV rays. For our Aussie climate, we recommend using a water-based exterior sealer.
It’s easy to apply and dries quickly, perfect for our sunny weather.
Let’s not forget about maintenance. Every year or two, we should give our planter boxes a quick clean and reapply the sealant. This simple step keeps the wood in top shape and extends the life of our garden features.
As the old saying goes:.
An ounce of prevention is worth a pound of cure.
Next, we’ll look at some long-term care tips for our timber planter boxes.
Long-term care for your timber planter box
Our timber planter boxes need regular care to stay strong and beautiful. We apply a fresh coat of sealant every year to protect the wood from moisture and sun damage. This simple step keeps our boxes looking great and extends their life.
We also check for loose screws or joints and tighten them as needed.
Proper drainage is key for long-term planter box health. We make sure the drainage holes stay clear and unclogged. If water pools in the box, we drill a few more holes to improve flow.
Good drainage prevents wood rot and keeps our plants happy. With these easy maintenance tasks, our timber planter boxes will last for many growing seasons.
Conclusion
Building timber planter boxes adds charm to any garden. We’ve shared key steps to create your own green oasis. With the right wood and tools, you’ll craft beautiful boxes that last.
Regular care keeps them looking great for years. Now you’re ready to grow your favourite plants in style. Happy gardening!
FAQs
1. What materials do I need to build timber planter boxes?
You’ll need timber boards, screws, a drill, saw, measuring tape, and wood sealant. Choose rot-resistant timber like cedar or treated pine for durability. A seller at your local hardware store can help you select the right materials.
2. How do I ensure proper drainage in my planter boxes?
Drill several small holes in the bottom of your planter box. Add a layer of gravel or small stones before filling with soil. This prevents waterlogging and keeps your plants healthy.
3. Can I customise the size of my planter boxes?
Absolutely! Measure your garden space and design boxes to fit. Remember to consider the mature size of your plants when planning. Custom sizes allow you to maximise your garden’s potential.
4. How do I protect my timber planter boxes from weather damage?
Apply a quality wood sealant to all surfaces of your planter box. This shields the timber from moisture and UV rays. Reapply the sealant annually to maintain protection and extend the life of your boxes.
