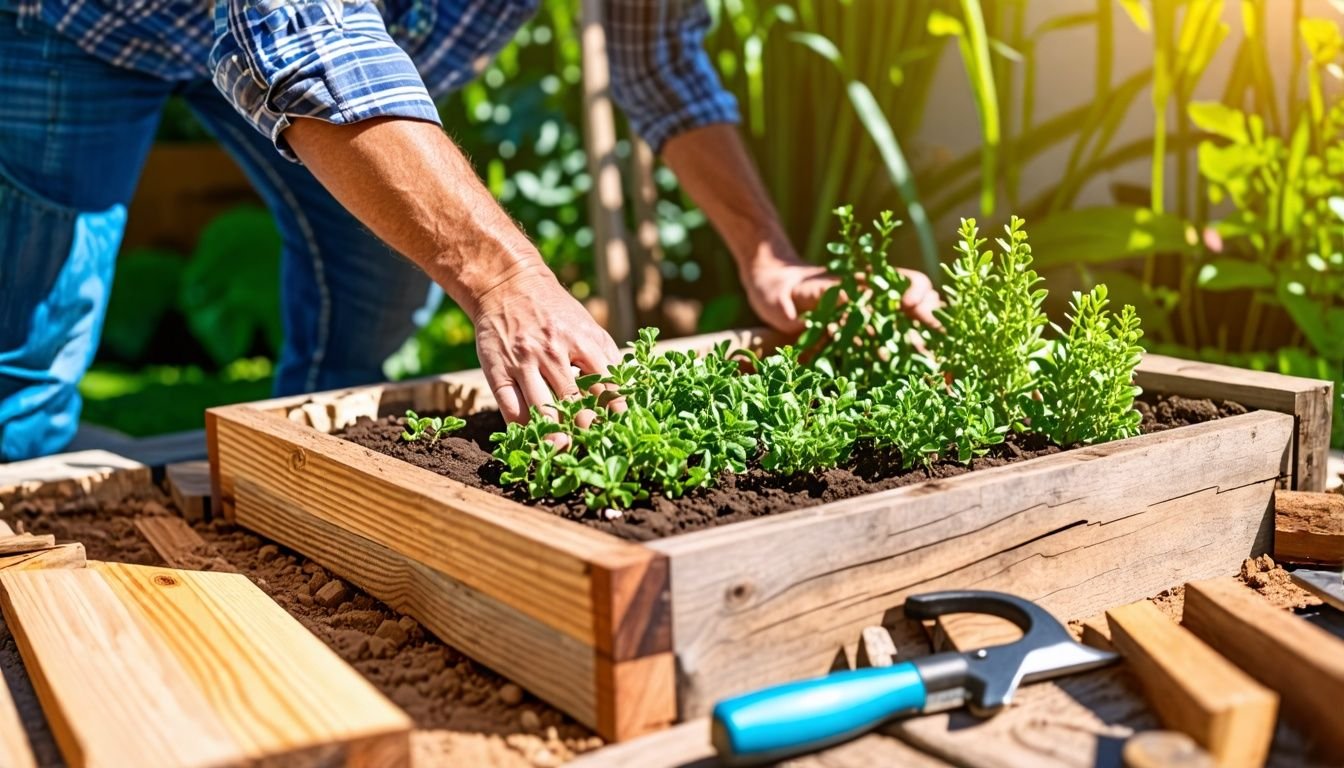
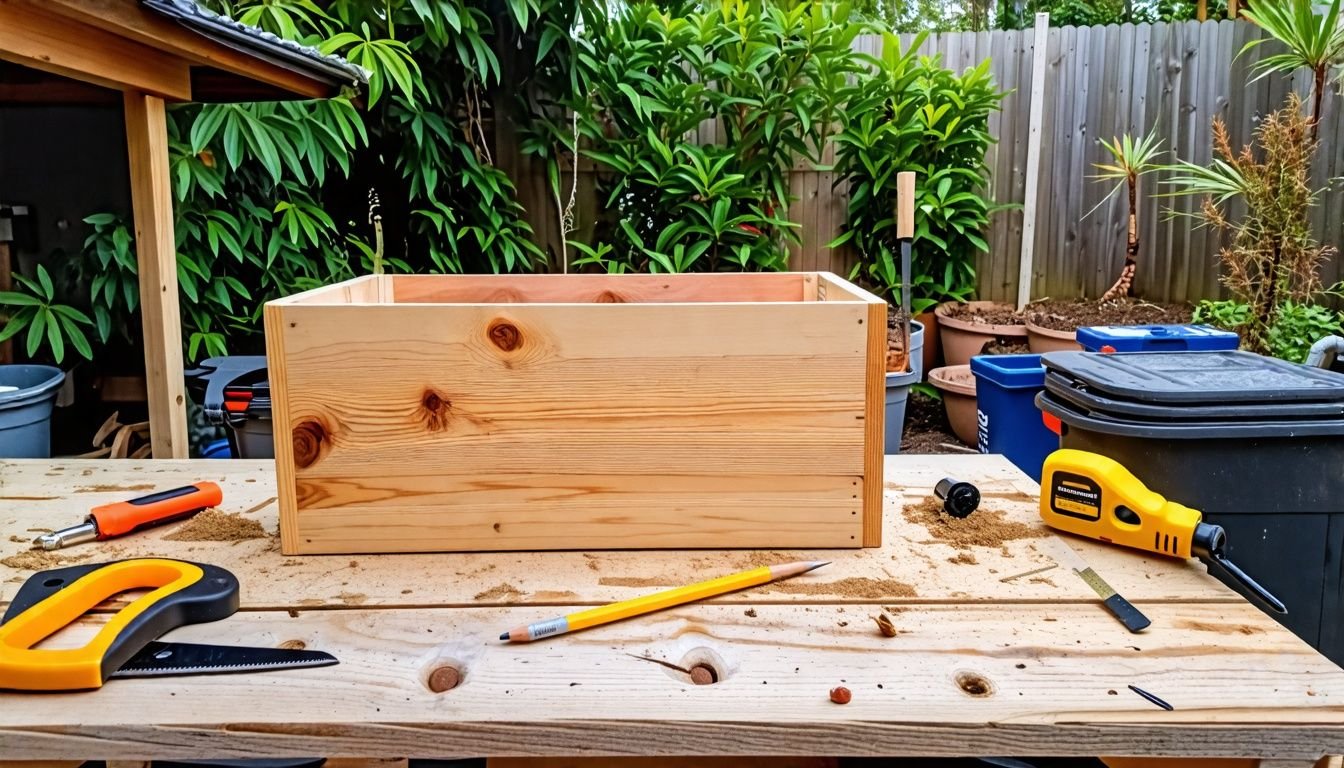
G’day mates! Fancy adding a bit of green to your place but short on space? A compact wooden planter box might be just the ticket. These little beauties are ace for growing herbs, flowers, or small veggies in tight spots.
Now, don’t be a wuss thinking it’s too tricky to make your own – it’s not!
We know the feeling. Once upon a time, we were stumped trying to find the right planter for our tiny balcony. That’s why we’ve put in the hard yakka researching and testing different methods to build the perfect small wooden planter box.
Here’s a top tip: using locally sourced Macrocarpa Cypress can make your planter tougher than a two-dollar steak and eco-friendly to boot. Our guide will walk you through each step, from choosing materials to adding those final touches.
We’ll show you how easy and fun it can be to create your own little patch of paradise. So, ready to get your hands dirty and give it a go?
Key Takeaways
- Macrocarpa Cypress is a top choice for outdoor planter boxes in Oz, as it’s locally sourced and naturally resists decay and bugs.
- You’ll need basic tools like a saw, drill, screws, and sandpaper to build your planter box, plus safety gear like gloves and sunnies.
- Waterproof your box by applying exterior oil, using a water-resistant sealant, and lining the inside with plastic to protect the timber.
- Chuck some personality into your planter with paint, stencils, mosaics, or even solar lights for a bit of nighttime sparkle.
- Building your own wooden planter box is a bonza way to grow herbs, flowers, or small veggies in tight spaces like balconies.
Choosing the Right Materials

We’ll help you pick the best wood for your planter box. Our guide covers everything from cedar to pine, ensuring your box lasts through Aussie weather.
Types of wood suitable for outdoor use
Choosing the right wood for outdoor planter boxes is crucial for longevity and aesthetics. We’ve compiled a list of top timber options suitable for Australian gardens.
- Macrocarpa Cypress: This locally sourced timber is perfect for handmade planter boxes. It’s naturally resistant to decay and insects.
- Spotted Gum: A hardwood native to Australia, Spotted Gum offers excellent durability for outdoor furniture and planters. BARC’s Commercial Range showcases its versatility.
- Sustainable Cypress: Ideal for garden structures, sustainable cypress is used in products like Cypress Herbivores and Cypress Cubes. It’s eco-friendly and long-lasting.
- Reclaimed Wood: Upcycled timber adds character to pot planters while promoting sustainability. It’s a great choice for eco-conscious gardeners.
- Western Red Cedar: Known for its natural oils, this wood resists rot and repels insects. It’s lightweight yet strong, making it easy to work with.
- Jarrah: This Australian hardwood is naturally termite-resistant and weathers beautifully over time. It’s great for larger planter boxes.
- Merbau: Highly durable and water-resistant, Merbau is perfect for areas with high moisture. It’s often used in decking and outdoor furniture.
- Treated Pine: An affordable option, treated pine can withstand the elements when properly sealed. It’s widely available and easy to work with.
Necessary tools and supplies
We’ll need the right gear to build our small wooden planter box. Let’s go through the essential tools and supplies we’ll use for this project.
- Wood: Choose timber suited for outdoor use, like cedar or treated pine.
- Measuring tape: For precise cuts and dimensions.
- Pencil: To mark our cutting lines.
- Saw: A handsaw or circular saw for cutting the wood.
- Drill: To create pilot holes and attach pieces together.
- Screws: Exterior-grade screws to join the wood pieces.
- Sandpaper: To smooth rough edges and surfaces.
- Hammer: For any nailing needs.
- Level: To ensure our planter box is straight.
- Exterior oil: To protect the wood from weather damage.
- Nonwoven geofabric: For drainage lining, as used in timber planter boxes.
- Wheels: Optional, for mobility like the herb junior planter box.
- Paint or stain: If we want to add colour or enhance the wood’s natural look.
- Brush: For applying paint, stain, or exterior oil.
- Safety gear: Gloves, safety glasses, and dust mask for protection.
Step-by-Step Construction Guide
We’ll guide you through the construction process step by step. Our easy-to-follow instructions will help you build your planter box with confidence.
Cutting and assembling the wood
Let’s get our hands dirty and start building our wooden planter box. Cutting and assembling the wood is the core of our project, so we’ll guide you through each step.
- Measure and mark the wood pieces for our planter box. We’ll need four sides, a bottom, and optional lid pieces.
- Cut the wood to size using a saw. For a box similar to the Wooden Box with Sliding Lid (30x20x13cmH), adjust measurements as needed.
- Sand all cut edges to prevent splinters and create a smooth finish.
- Pre-drill holes for screws to avoid splitting the wood during assembly.
- Attach the sides of the box using wood glue and screws. Start with two opposite sides, then add the remaining two.
- Secure the bottom piece to complete the main structure of our planter.
- For a sliding lid like the one on the $11.94 Wooden Box, cut grooves along the top edges of the long sides.
- Create the lid by cutting a piece slightly larger than the box opening.
- Sand the lid edges to fit snugly in the grooves.
- Apply a water-resistant finish to protect our timber box from moisture.
- Add any decorative elements, like the chalkboard insert found in the $34.98 Wooden Crate set.
- Line the inside of our wooden container with landscape fabric for better drainage.
Finishing touches and waterproofing
We’re excited to share our tips for finishing touches and waterproofing your wooden planter box. These final steps will protect your creation and give it a polished look.
- Apply an exterior oil coating. This will guard your planter box against moisture and UV rays, extending its life outdoors.
- Choose your finish. Options include natural, painted, stained, or washed looks. Each gives a unique character to your planter.
- Sand the wood smooth. This preps the surface for your chosen finish and removes any rough spots.
- Use a water-resistant sealant. This extra layer keeps your planter box safe from rain and watering.
- Add decorative elements. Consider attaching metal brackets or carving simple designs for a personal touch.
- Paint in weatherproof colours. If painting, pick hues that withstand sun and rain without fading quickly.
- Install drainage holes. These prevent water logging and keep your plants healthy.
- Line the inside with plastic. This extra step further protects the wood from constant moisture.
- Apply multiple coats of finish. Each layer boosts protection and deepens the colour of your chosen finish.
- Allow proper drying time. Rushing this step can lead to an uneven finish or reduced water resistance.
Customisation Ideas for Your Planter Box
We’ve got heaps of ideas to make your planter box stand out. You can paint it, add stencils, or attach decorative hardware for a unique look.
Design variations and decorative elements
Design variations and decorative elements can transform a simple wooden planter box into a stunning garden feature. Let’s explore some creative ideas to customise your planter and make it uniquely yours.
- Paint it pretty: Give your planter box a splash of colour with outdoor paint. Choose bold hues or soft pastels to match your garden’s theme.
- Add decorative trim: Attach wooden mouldings or rope to the edges of your planter for a polished look.
- Create a mosaic design: Use broken tiles or colourful stones to craft a beautiful mosaic pattern on the sides of your planter.
- Stencil patterns: Apply stencils to paint intricate designs or motifs on your planter box.
- Incorporate metallic accents: Attach metal corners, handles, or plaques for a touch of elegance.
- Use reclaimed materials: Repurpose old wooden crates or pallets to give your planter a rustic charm.
- Add legs or a stand: Elevate your planter with wooden legs or a matching stand for added height and visual interest.
- Create multi-tiered planters: Stack smaller boxes on top of larger ones to create a tiered effect, perfect for herb gardens.
- Incorporate lighting: Add solar-powered lights or fairy lights to create a magical evening ambiance.
- Personalise with engraving: Use wood-burning tools to engrave names, quotes, or designs onto your planter.
Conclusion
Building a small wooden planter box is a fun and rewarding project. We’ve walked you through the steps, from choosing materials to adding final touches. Your new planter will brighten up your garden or balcony.
It’s a great way to grow herbs, flowers, or small veggies. Get creative with your design and enjoy your handmade garden addition!
FAQs
1. What tools do I need to build a wooden planter box?
You’ll need a saw, drill, screws, measuring tape, and sandpaper. Wood glue and wood stain are optional but useful.
2. How big should I make my planter box?
Size depends on your space and plants. A common size is 60 cm long, 30 cm wide, and 30 cm deep.
3. What type of wood is best for outdoor planter boxes?
Cedar or redwood are top choices. They resist rot and look great. Treated pine is a cheaper option.
4. Do I need to add drainage holes to my planter box?
Yes, drill a few holes in the bottom. This prevents water logging and keeps your plants healthy.
